Smart UI Desktop App with Blazor and Windows FormsBlazor - Desktop CrossplatformGetting StartedThis tutorial will show you how you can use Smart components in a Blazor Desktop app with .NET 6, running in both a web browser and in WinForms. Prerequisites
Before getting started you need to have Visual Studio 2022 with .NET 6 SDK installed. Blazor Server AppFirst, we will start by opening Visual Studio 2022 and creating a Blazor Server App called CrossPlatformBlazor with target framework .NET 6.0 
Then we need to add Smart.Blazor NuGet package to the project. 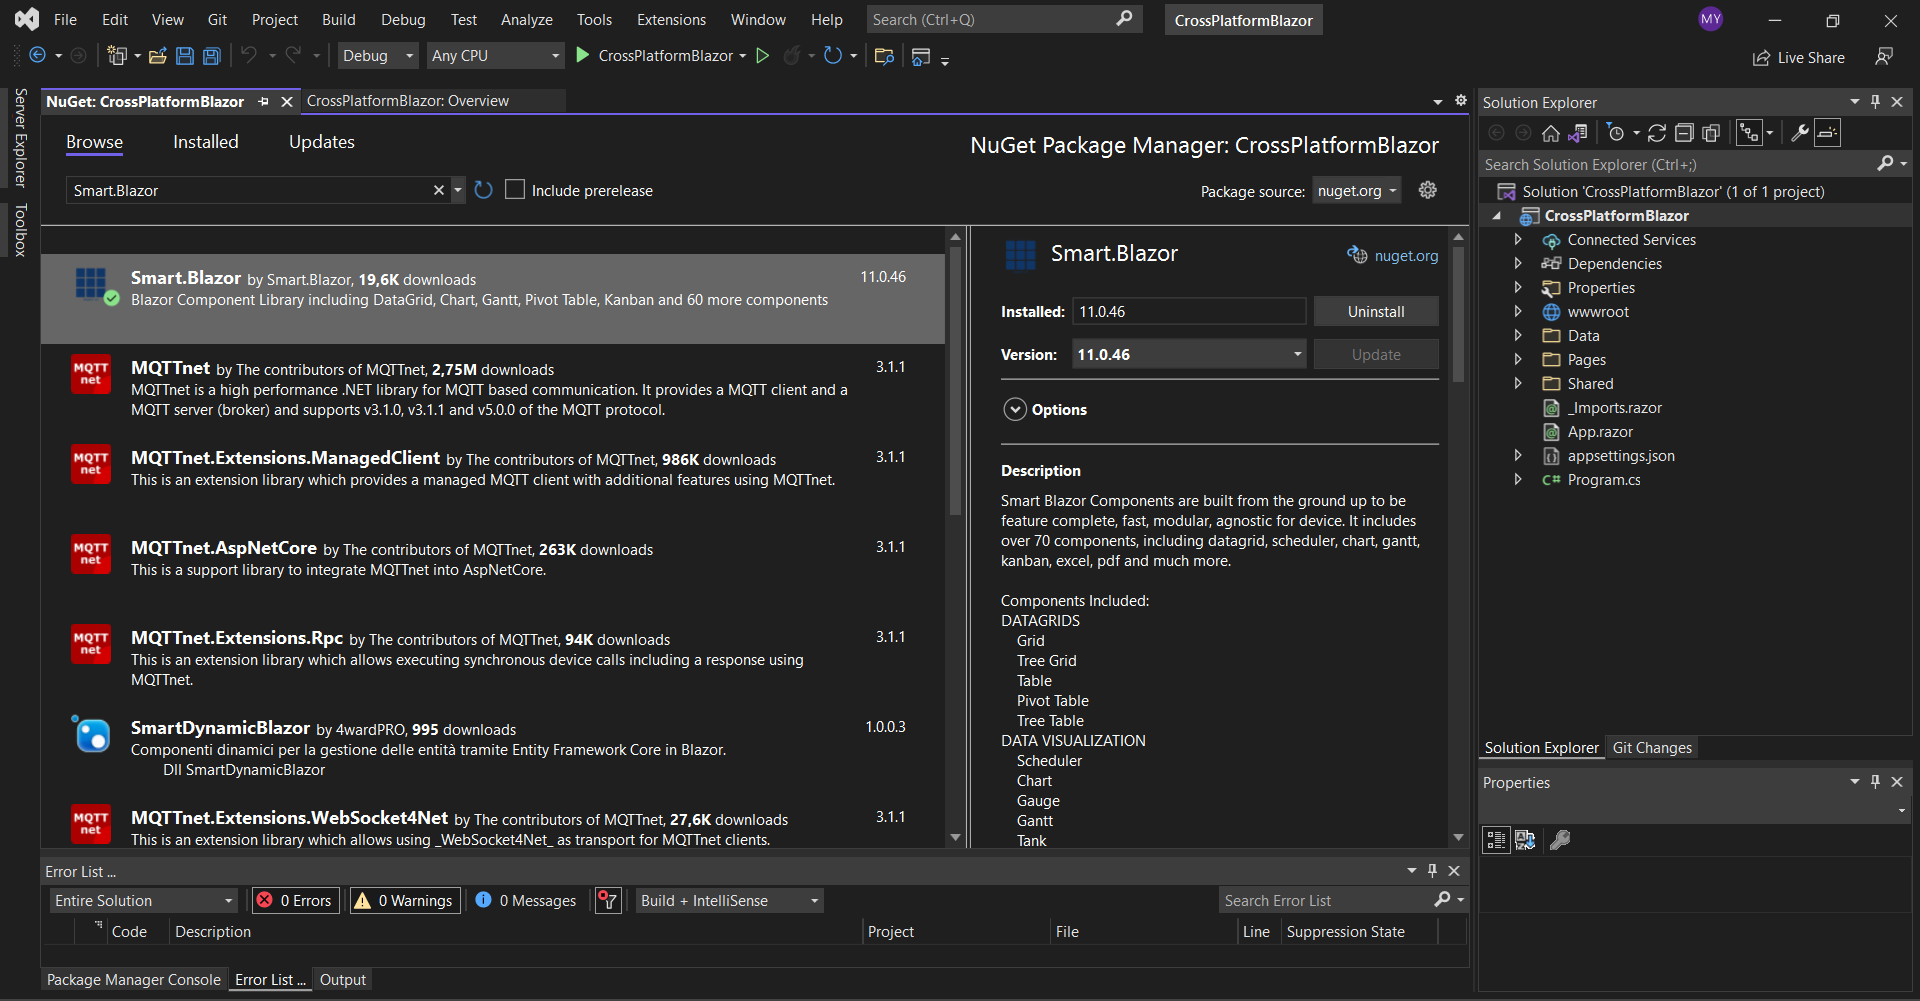
Open the
<link href="_content/Smart.Blazor/css/smart.default.css" rel="stylesheet" />
and Smart source files by adding this snipet:
  <script src="_content/Smart.Blazor/js/smart.blazor.js"><script>
  <script src="_content/Smart.Blazor/js/smart.elements.js"></script>
The next step is to open the Program.cs file and to add
    using CrossPlatformBlazor.Data;
    using Microsoft.AspNetCore.Components;
    using Microsoft.AspNetCore.Components.Web;
    using Smart.Blazor;

    var builder = WebApplication.CreateBuilder(args);

    // Add services to the container.
    builder.Services.AddRazorPages();
    builder.Services.AddServerSideBlazor();
    builder.Services.AddSingleton<WeatherForecastService>();
    // Add Smart UI for Blazor.
    builder.Services.AddSmart();

    var app = builder.Build();

    // Configure the HTTP request pipeline.
    if (!app.Environment.IsDevelopment())
    {
        app.UseExceptionHandler("/Error");
        // The default HSTS value is 30 days. You may want to change this for production scenarios, see https://aka.ms/aspnetcore-hsts.
        app.UseHsts();
    }

    app.UseHttpsRedirection();

    app.UseStaticFiles();

    app.UseRouting();

    app.MapBlazorHub();
    app.MapFallbackToPage("/_Host");

    app.Run();
Now you can open the
    @page "/"
    @using CrossPlatformBlazor.Data

    @inject WeatherForecastService ForecastService

    <h1>Weather forecast</h1>

    <p>This component demonstrates fetching data from the server.</p>

    @if (forecasts == null)
    {
      <p><em>Loading...</em></p>
    }
    else
    {
      <Table Selection="true" SortMode="TableSortMode.One" class="table">
        <table>
          <thead>
            <tr>
              <th>Date</th>
              <th>Temp. (C)</th>
              <th>Temp. (F)</th>
              <th>Summary</th>
            </tr>
          </thead>
          <tbody>
            @foreach (var forecast in forecasts)
            {
              <tr>
                <td>@forecast.Date.ToShortDateString()</td>
                <td>@forecast.TemperatureC</td>
                <td>@forecast.TemperatureF</td>
                <td>@forecast.Summary</td>
              </tr>
            }
          </tbody>
        </table>
      </Table>
    }

    @code {
      private WeatherForecast[] forecasts;

      protected override async Task OnInitializedAsync()
      {
        forecasts = await ForecastService.GetForecastAsync(DateTime.Now);
      }
    }
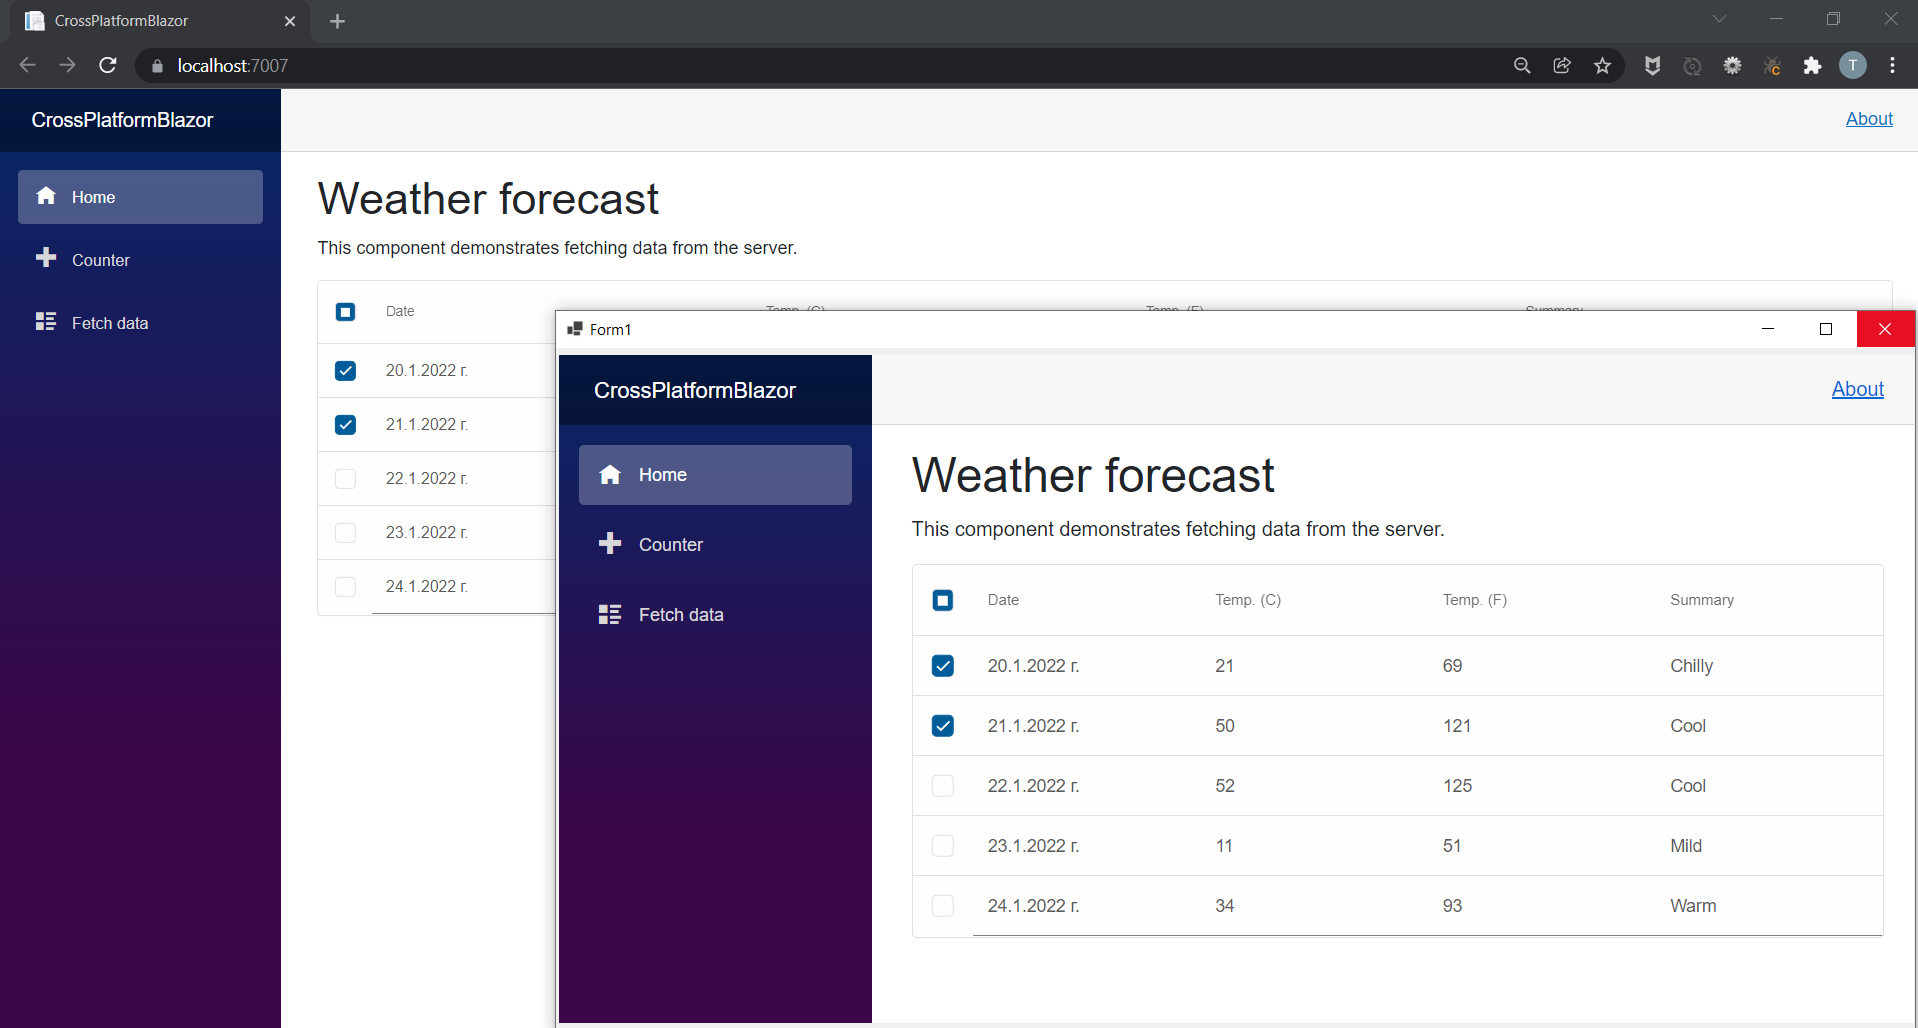
We are ready with the web part of our application. If you run the project you should see the following result: 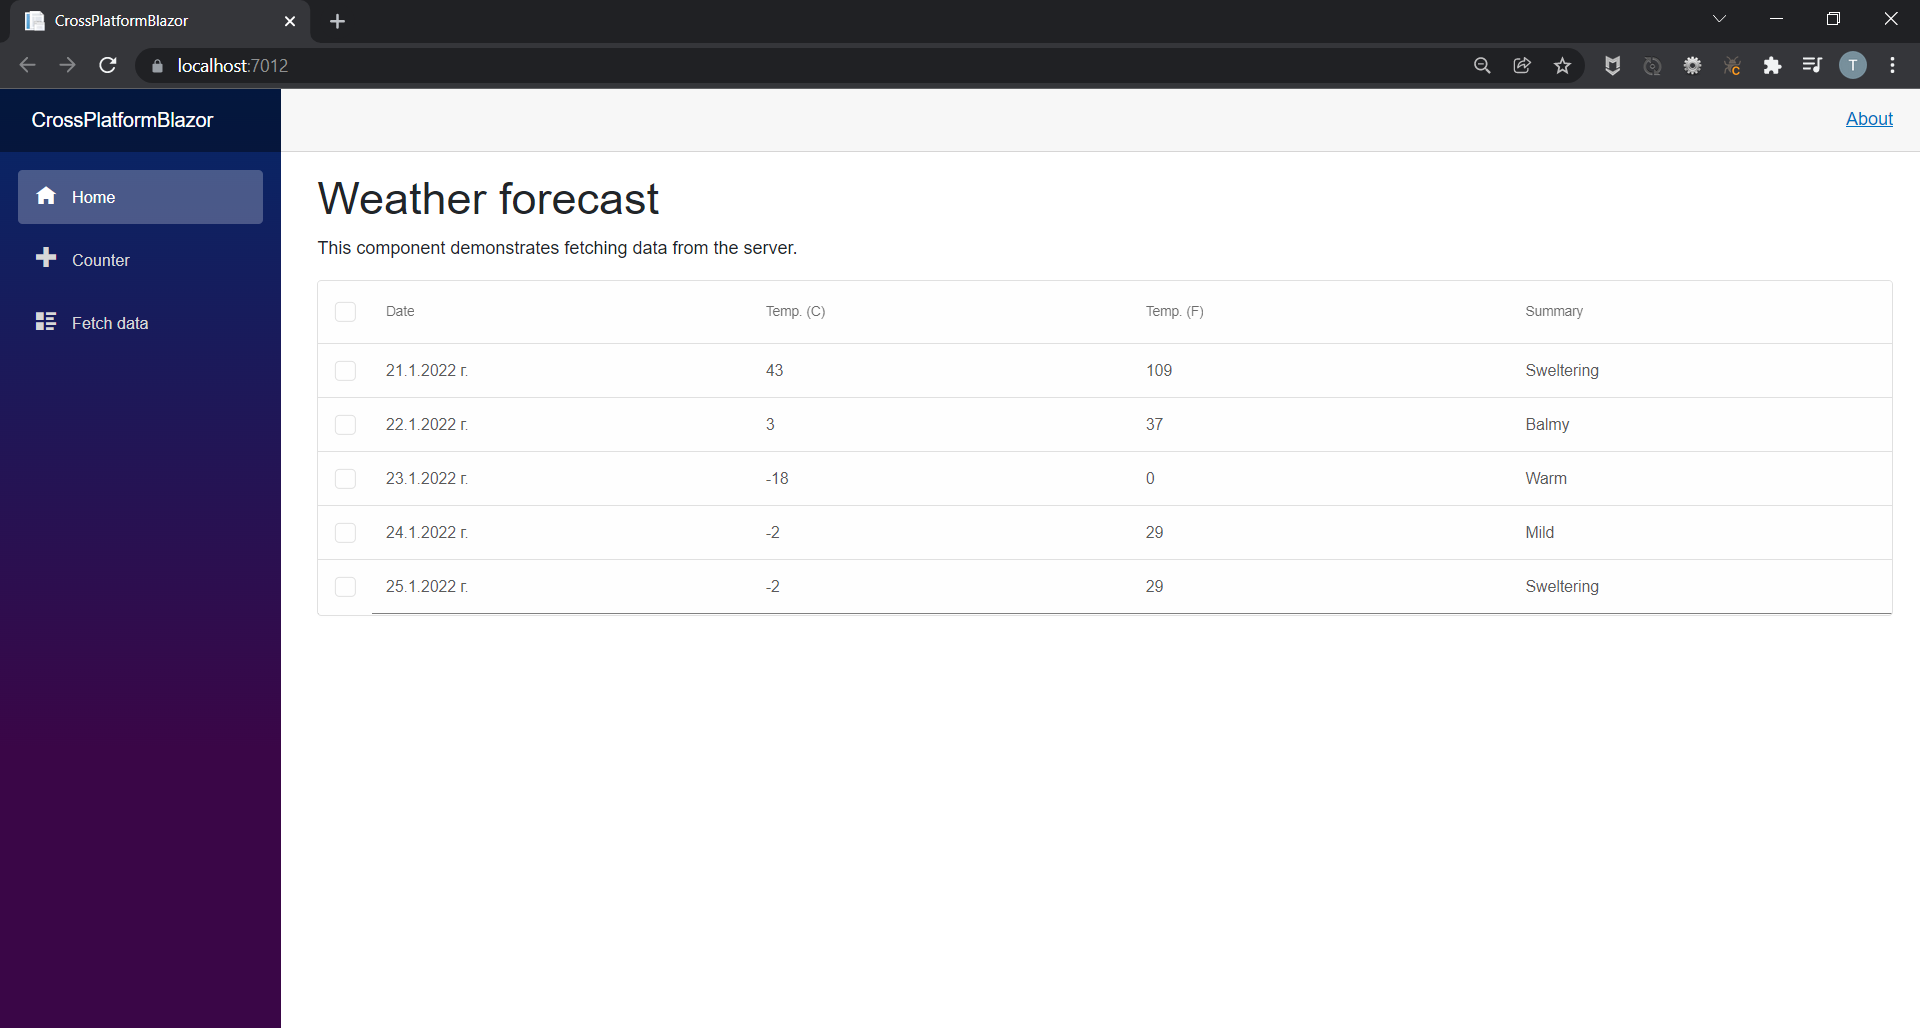
Windows Forms BlazorThe next step is to add a new Windows Forms App to the solution. We will name it WinFormsBlazor. 
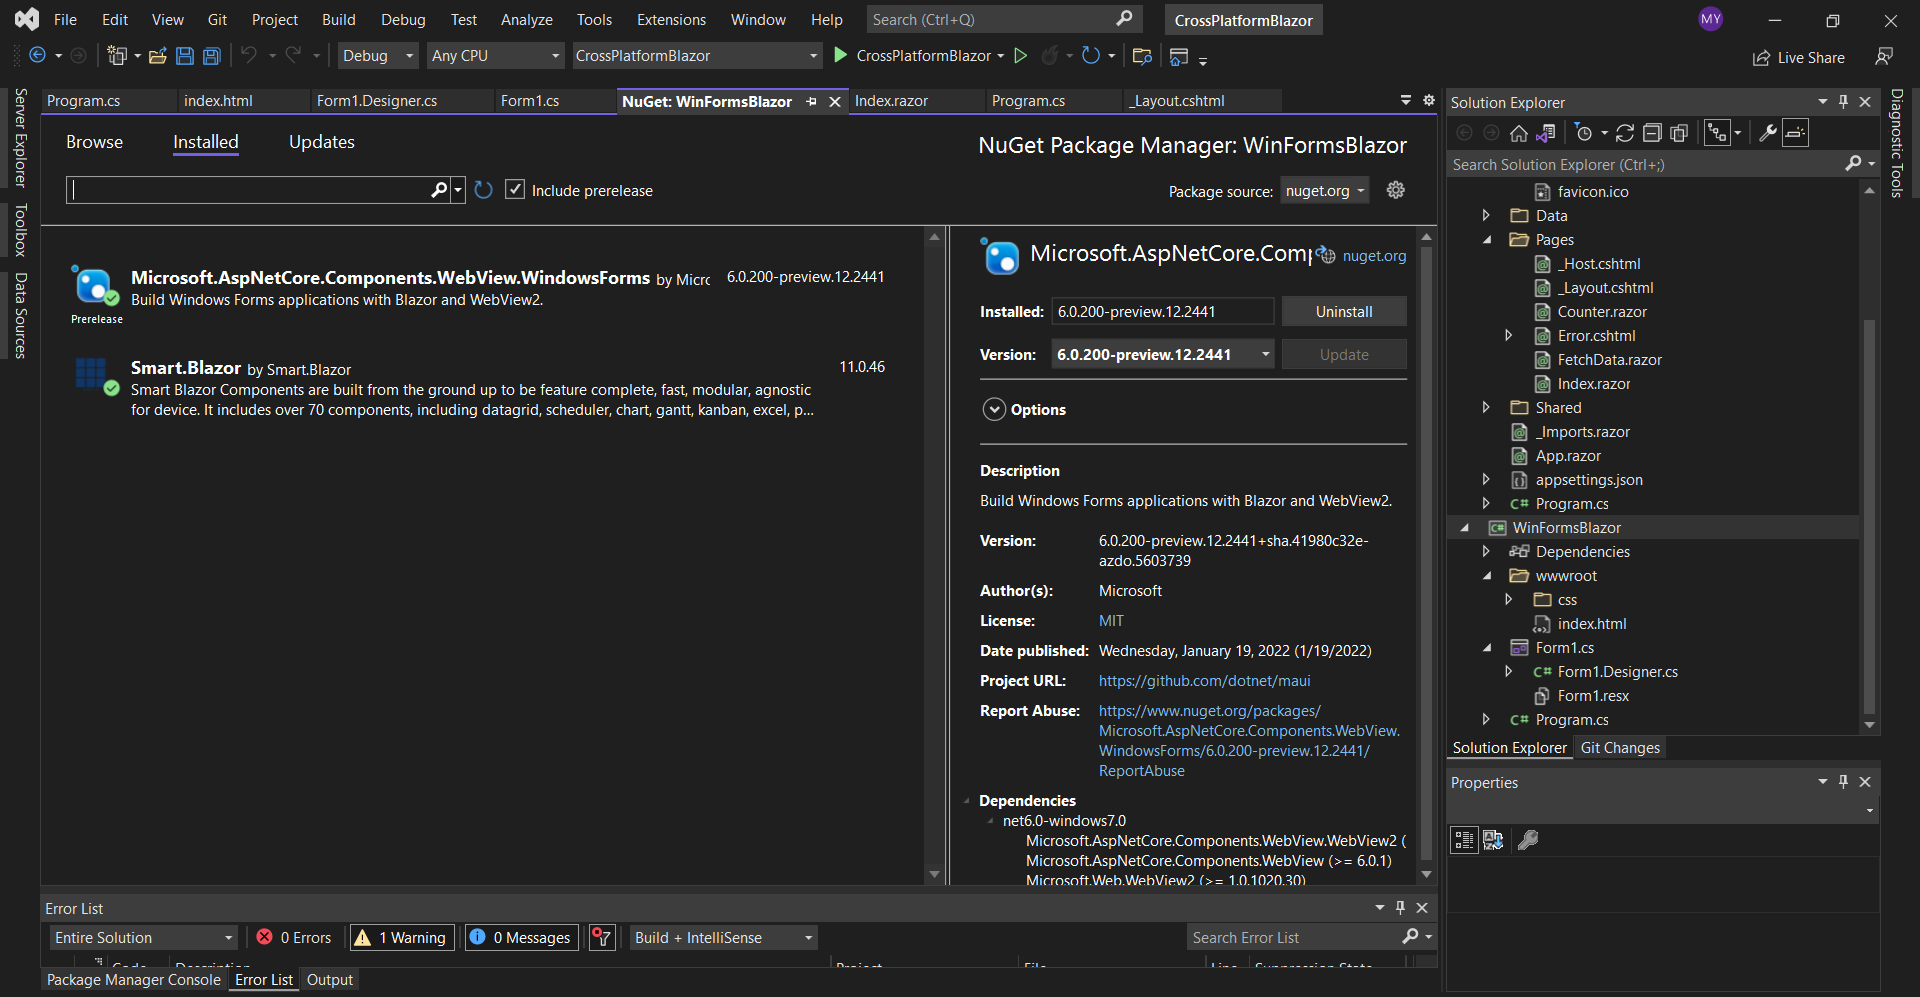
Add the Smart.Blazor and Microsoft.AspNetCore.Components.WebView.WindowsForms NuGet packages to the project.
    <!DOCTYPE html>
    <html>

    <head>
        <meta charset="utf-8" />
        <meta name="viewport" content="width=device-width, initial-scale=1.0, maximum-scale=1.0, user-scalable=no" />
        <title>Blazor WinForms app</title>
        <base href="/" />
        <link rel="stylesheet" href="css/bootstrap/bootstrap.min.css" />
        <link href="css/site.css" rel="stylesheet" />
        <link href="WinFormsBlazor.styles.css" rel="stylesheet" />
        <link href="_content/Smart.Blazor/css/smart.default.css" rel="stylesheet" />

    </head>

    <body>

        <div id="app"></div>

        <div id="blazor-error-ui">
            An unhandled error has occurred.
            <a href="" class="reload">Reload</a>
            <a class="dismiss">🗙</a>
        </div>

        <script src="_framework/blazor.webview.js"></script>
        <script src="_content/Smart.Blazor/js/smart.blazor.js"></script>
        <script src="_content/Smart.Blazor/js/smart.elements.js"></script>
    </body>

    </html>
Blazor Class Library
We will extract the code shared between the Blazor Desktop app and the Blazor Server app in a separate Razor Class Library that we will call BlazorClassLibrary.
<Nullable>enable</Nullable>
with
<AddRazorSupportForMvc>true</AddRazorSupportForMvc>
and add:
    <ItemGroup>
        <FrameworkReference Include="Microsoft.AspNetCore.App" />
    </ItemGroup>
Note, that you need to add a reference to the class library in the Blazor Server App and the Windows Forms App by right-clicking on them and choosing Add Project Refrence...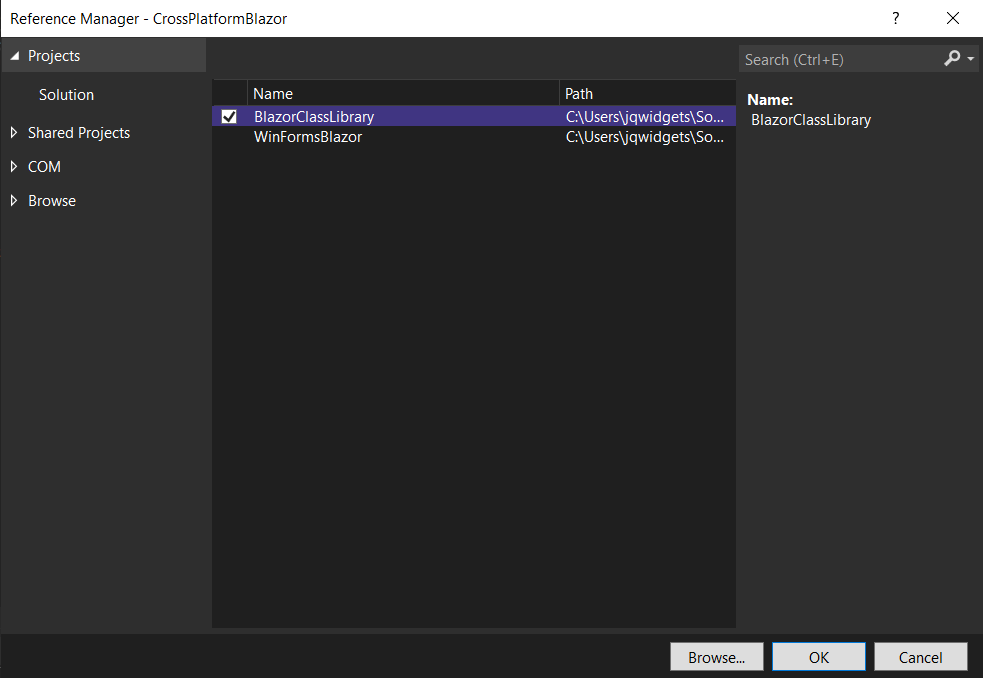 Now you can move Data, Pages, Shared and wwwroot folders and _Imports.razor and App.Razor files from CrossPlatformBlazor to BlazorClassLibrary. Then you should fix the reference of ILogger inside \Pages\Error.cshtml.cs by adding:
using Microsoft.Extensions.Logging;
Inside _Imports.razor replace:
    @using CrossPlatformBlazor
    @using CrossPlatformBlazor.Shared
with
    @using BlazorClassLibrary
    @using BlazorClassLibrary.Shared
Inside \Pages\_Layout.cshtml file you need to change the references of the css files by replacing:
    <link rel="stylesheet" href="css/bootstrap/bootstrap.min.css" />
    <link href="css/site.css" rel="stylesheet" />
with
    <link rel="stylesheet" href="_content/BlazorClassLibrary/css/bootstrap/bootstrap.min.css" />
    <link href="_content/BlazorClassLibrary/css/site.css" rel="stylesheet" />
And finally, inside \Pages\_Host.cshtml add:
@using BlazorClassLibrary
Final Configurations
Lastly, in the WinFormsBlazor project you should open the
    using BlazorClassLibrary;
    using CrossPlatformBlazor.Data;
    using Microsoft.AspNetCore.Components.WebView.WindowsForms;
    using Microsoft.Extensions.DependencyInjection;
    using Smart.Blazor;

    namespace WinFormsBlazor
    {
        public partial class Form1 : System.Windows.Forms.Form
        {
            public Form1()
            {
                var serviceCollection = new ServiceCollection();
                serviceCollection.AddBlazorWebView();

                serviceCollection.AddSingleton<WeatherForecastService>();

                serviceCollection.AddSmart();

                InitializeComponent();

                blazorWebView1.HostPage = @"wwwroot\index.html";
                blazorWebView1.Services = serviceCollection.BuildServiceProvider();
                blazorWebView1.RootComponents.Add<App>("#app");
            }
        }
    }
Then open also the Form1.Designer.cs file and paste the following code:
    namespace WinFormsBlazor
    {
        partial class Form1
        {
            /// <summary>
            ///  Required designer variable.
            /// </summary>
            private System.ComponentModel.IContainer components = null;

            /// <summary>
            ///  Clean up any resources being used.
            /// </summary>
            /// <param name="disposing">true if managed resources should be disposed; otherwise, false.</param>
            protected override void Dispose(bool disposing)
            {
                if (disposing && (components != null))
                {
                    components.Dispose();
                }
                base.Dispose(disposing);
            }

            #region Windows Form Designer generated code

            /// <summary>
            ///  Required method for Designer support - do not modify
            ///  the contents of this method with the code editor.
            /// </summary>
            private void InitializeComponent()
            {
                this.blazorWebView1 = new Microsoft.AspNetCore.Components.WebView.WindowsForms.BlazorWebView();
                this.SuspendLayout();
                //
                // blazorWebView1
                //
                this.blazorWebView1.Anchor = ((System.Windows.Forms.AnchorStyles)((((System.Windows.Forms.AnchorStyles.Top | System.Windows.Forms.AnchorStyles.Bottom)
                | System.Windows.Forms.AnchorStyles.Left)
                | System.Windows.Forms.AnchorStyles.Right)));
                this.blazorWebView1.Location = new System.Drawing.Point(3, 7);
                this.blazorWebView1.Name = "blazorWebView1";
                this.blazorWebView1.Size = new System.Drawing.Size(796, 436);
                this.blazorWebView1.TabIndex = 20;
                //
                // Form1
                //
                this.AutoScaleDimensions = new System.Drawing.SizeF(8F, 20F);
                this.AutoScaleMode = System.Windows.Forms.AutoScaleMode.Font;
                this.ClientSize = new System.Drawing.Size(800, 450);
                this.Controls.Add(this.blazorWebView1);
                this.Name = "Form1";
                this.Text = "Form1";
                this.ResumeLayout(false);

            }

            #endregion

            private Microsoft.AspNetCore.Components.WebView.WindowsForms.BlazorWebView blazorWebView1;
        }
    }
The last thing you need to do is to open the WinFormsBlazor's project file WinFormsBlazor.csproj and change the first line to:
<Project Sdk="Microsoft.NET.Sdk.Razor">
and add the following lines:
    <ItemGroup>
      <Content Update="wwwroot\**">
        <CopyToOutputDirectory>PreserveNewest</CopyToOutputDirectory>
      </Content>
    </ItemGroup>

    <ItemGroup>
      <Content Update="wwwroot\css\site.css">
        <CopyToOutputDirectory>PreserveNewest</CopyToOutputDirectory>
        <ExcludeFromSingleFile>true</ExcludeFromSingleFile>
        <CopyToPublishDirectory>PreserveNewest</CopyToPublishDirectory>
      </Content>
    </ItemGroup>
Now if you start both the CrossPlatformBlazor and WinFormsBlazor projects you should get the following result:
This entry was posted in Uncategorized and tagged blazor, blazor desktop, blazor desktop application, blazor server app, windows forms, windows forms blazor. Bookmark the permalink.
|
|